Over the years, I learned that starting seeds indoors has many advantages. First, you can start before the growing season. You’ll see that some seed packets say that you can start seeds indoors X number of weeks before the last frost. So, you’re getting a little jump on Mother Nature.

I’ve tried ALL the seed starting methods. If you’ve ever come close to Pinterest, you’ll see that you can use empty eggshells, toilet paper tubes, newspaper pots and dozens of other craft things. Having tried most of them, I’ve settled on peat pucks. Some people call them pellets (and that’s how they are mostly sold) but to me they look like a puck!

A peat puck is just compressed peat moss which is a fibrous plant material. When you add water, the peat moss expands and is a great medium for seed starting because it holds moisture.

You can find these at any garden or home improvement store or order them online. That’s how I wound up with a box of 2,000, which I was happy to share with the folks that buy our Give Bees a Chance Activity Box.

To expand the quarter-size peat puck, add 1/3 cup of warm water. They puff up to make a cylinder shape. Then, use a toothpick to make a small hole where you place a seed. Then cover with a little peat on top of the seed. No pressing needed.

Warmth is the signal in nature that tells seeds to sprout, so you should keep your puck someplace warm such as a sunny window or even on top of the fridge. I keep my pucks in a tray so that I can keep them moist by adding water from the bottom. The back of the seed packet can give you a hint about how long it will take.

Depending on the type of seed, it will only take a few days to sprout. This is a photo of a cucumber seed that sprouted in two days. You can see the little leaves just pushing up from the soil.

Once you see the sprout, you’ll want to move the sprouts to a sunny location as they need sun to grow.

When your seedling gets a second set of leaves, it’s time to transplant. I like to put my seedlings in a small pot with a mix of compost and potting soil and keep inside for a few weeks. You can plant the whole peat puck in the potting soil and the roots grow right through the net and it will decompose in time.

Before you’re ready to plant your seedlings outside, put the small pot outdoors on a patio or porch step for a few days to get used to the outside climate. Be sure to keep them watered. This is called “hardening off.” It really means to allow the seedling stems to get stronger so they can withstand wind and rain.

Once they’ve had a day or two outdoors, they are ready to go in a patio pot or a garden!

Bonus Tips for Sprouting

I really like sprouting my seeds in a moist paper towel. First, find a domed container. I recycle a plastic to-go container, something like a rotisserie-chicken container.

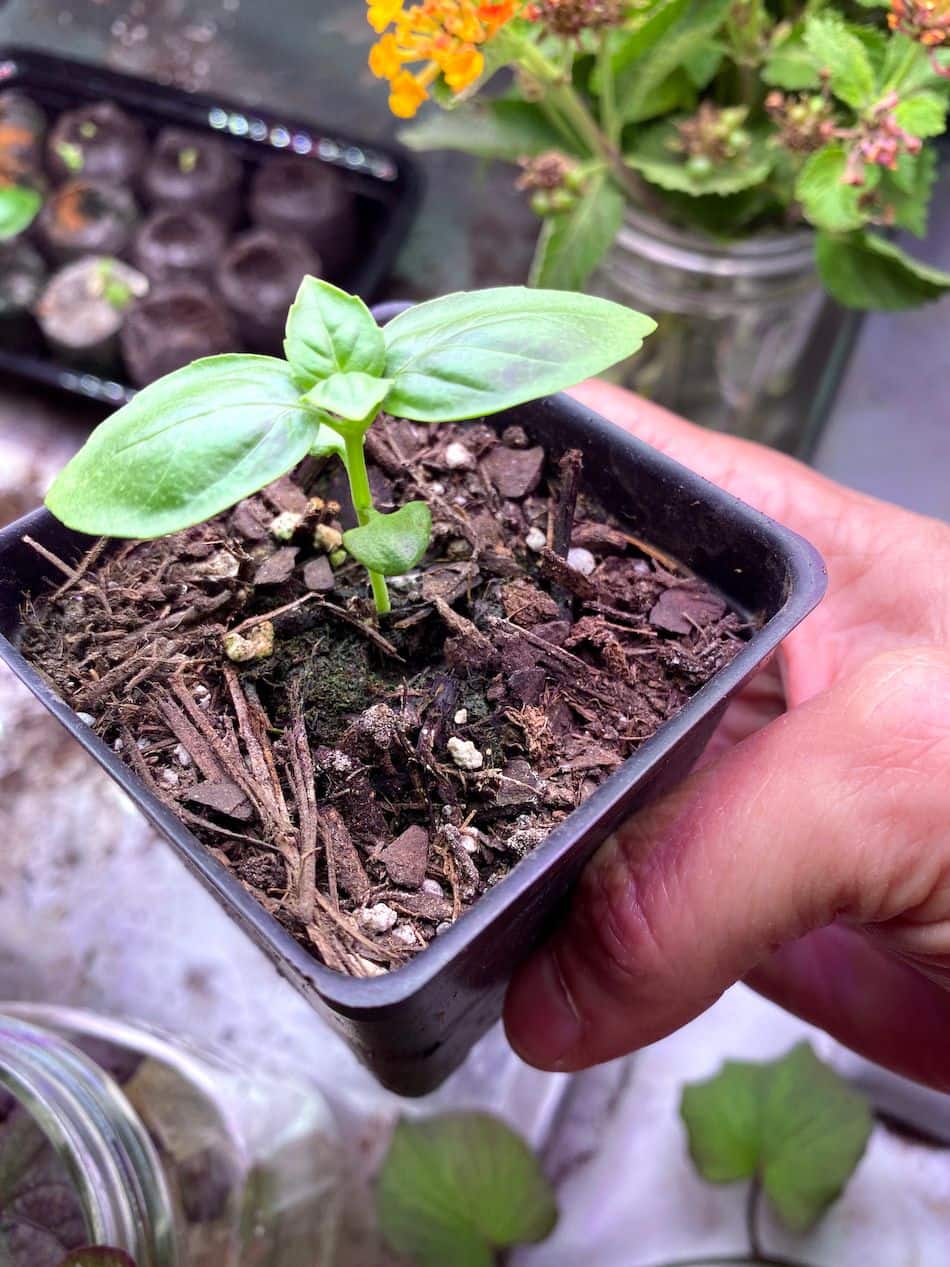
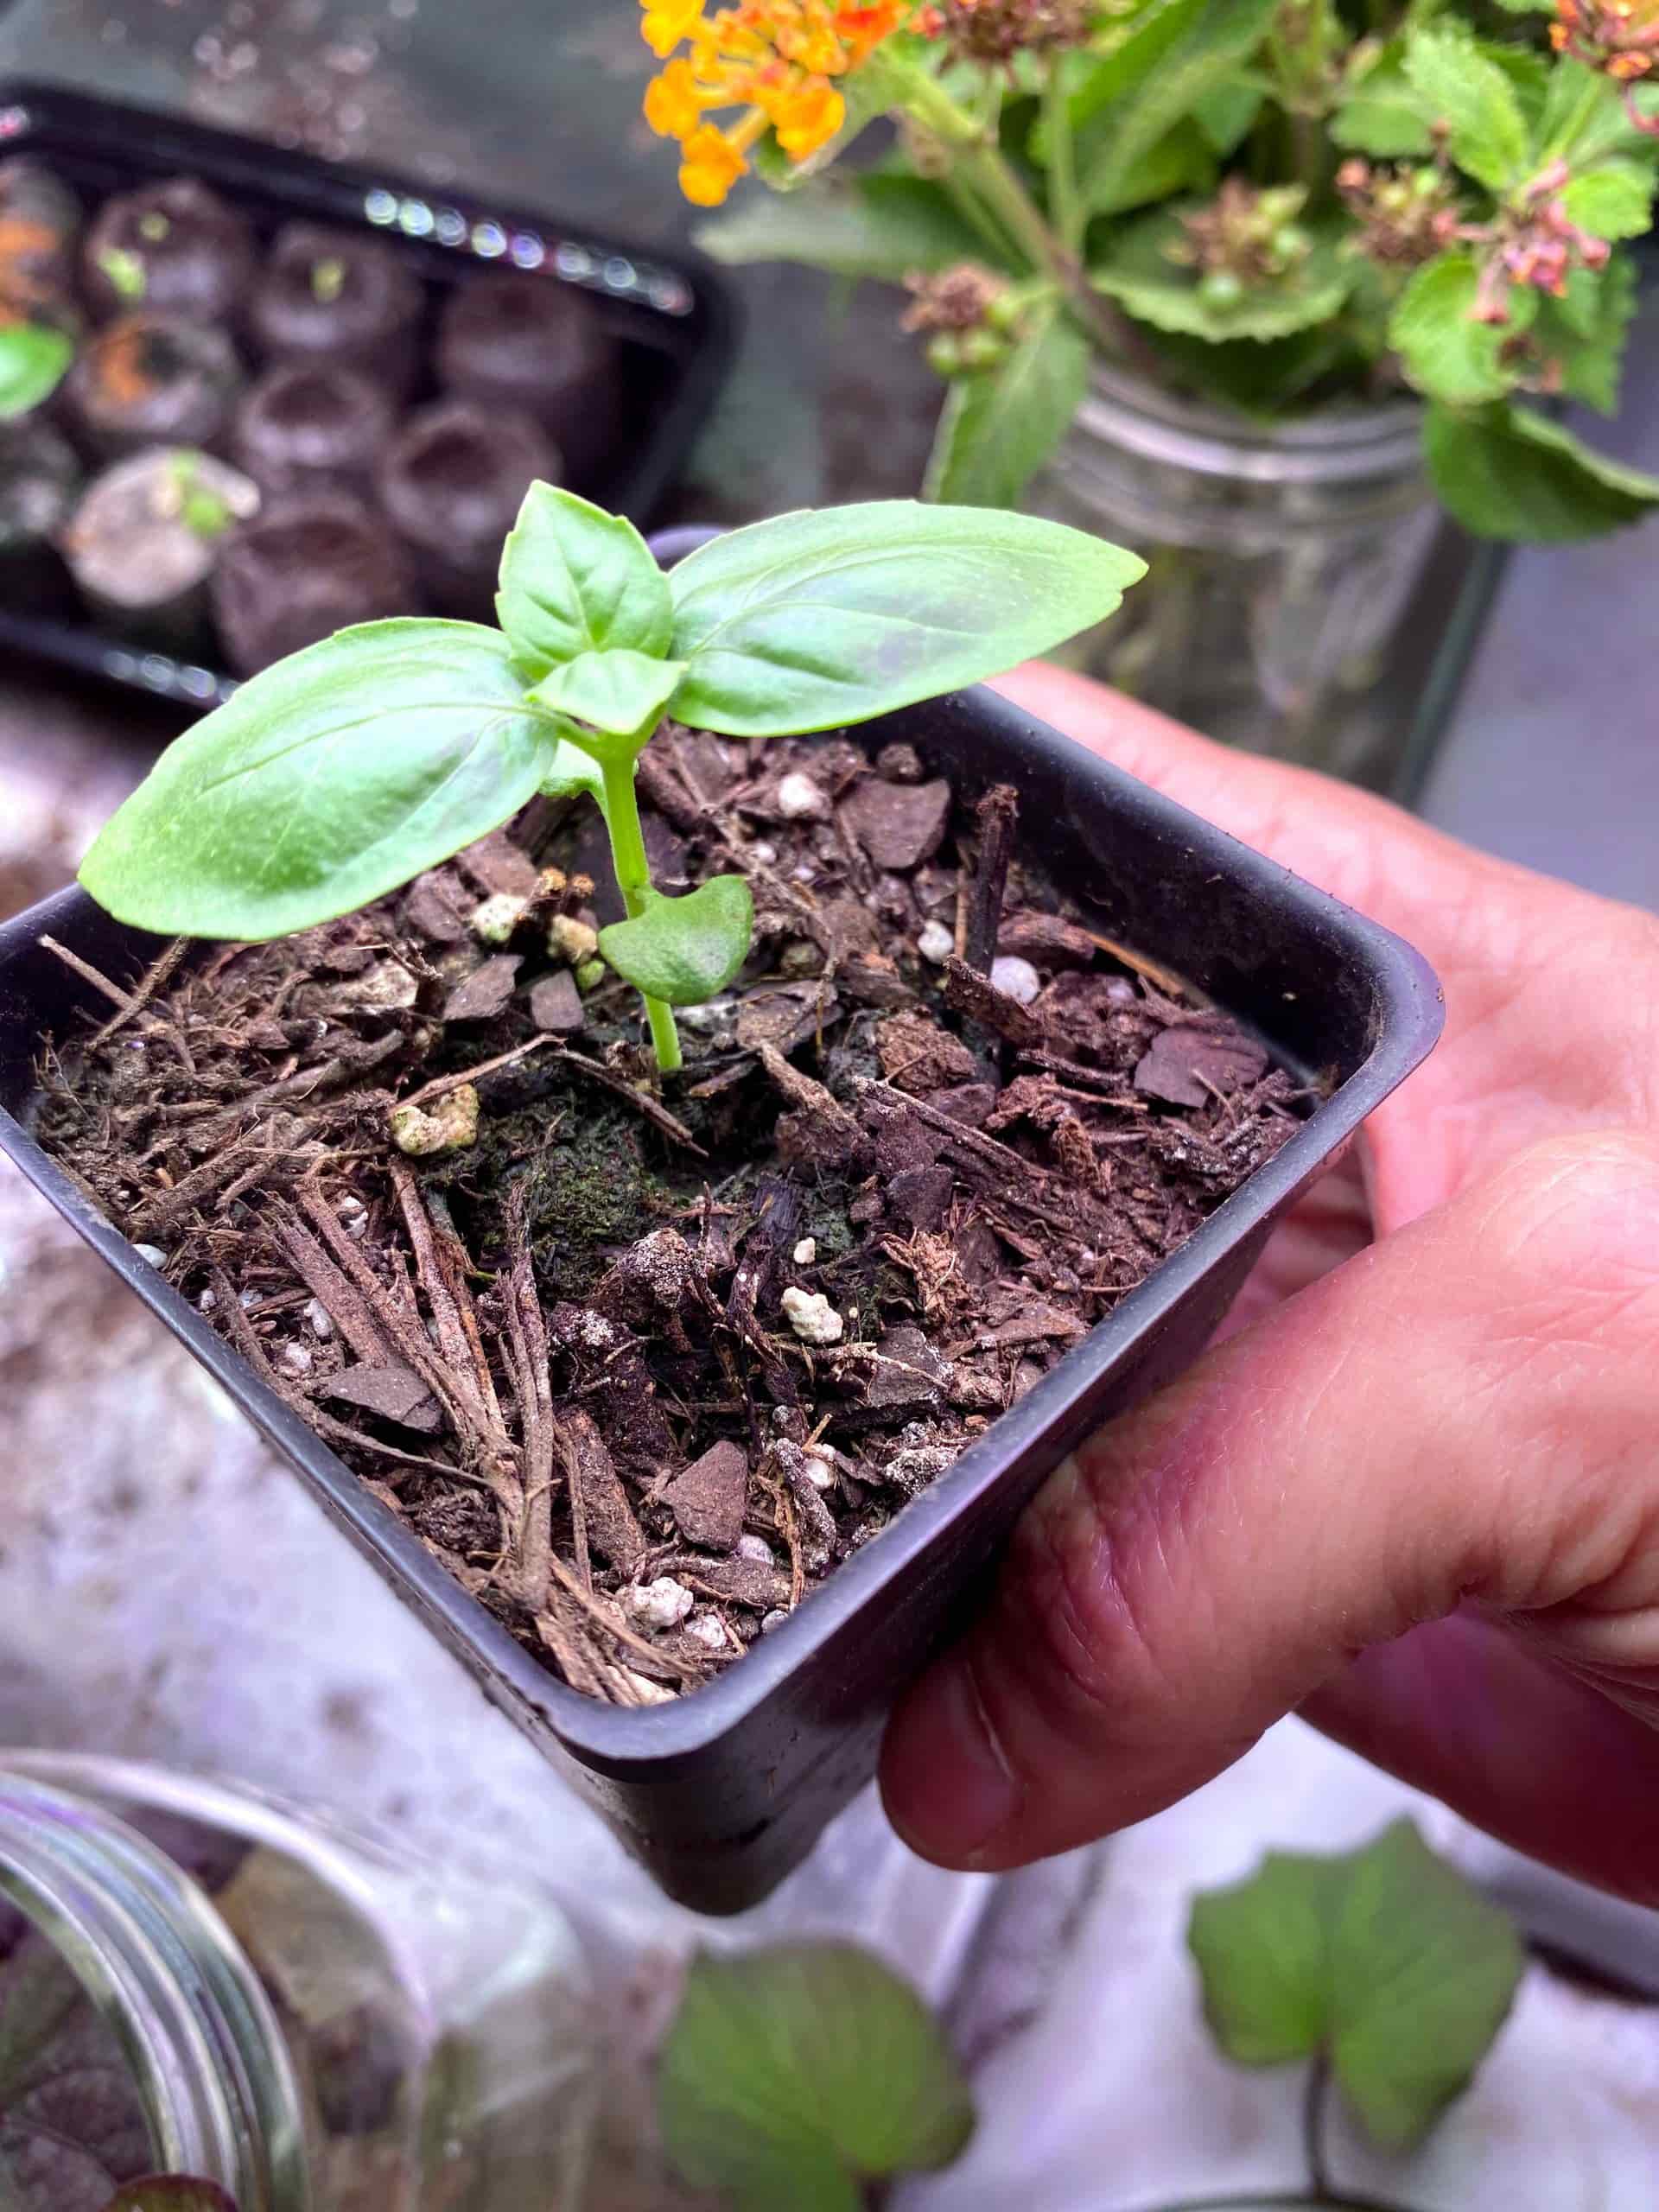
Lay a paper towel in the bottom of the clean container. Make a row of seeds. Fold the paper towel over the seeds and then add some warm water until it’s just moist. Close the lid and you’ve just made a greenhouse! Watch your seeds every day and as soon as you see a little root with tiny leaves, very gently place the spout into a peat puck and follow the same instructions as above.

You can turn this activity into a fun learning experience for kids. Chart how long it takes different types of seeds to sprout. Record how fast each one grows. Measure how tall they get. You can even try different locations in the house to see where they grow the fastest.

If you have dried beans in the pantry, experiment with those and see if they will sprout. Most seeds will sprout for years after they are dried, beans especially! Beware, you may wind up with a beanstalk!

Get Crafty with Your Own Seed Packets

Need somewhere to store your seeds for future planting or want to swap seeds with a friend? Print, color and create your own seed packets with our DIY Seed Packets.

Happy sprouting!